Setting up Email Notifications
To set up email notifications, do the following:
- On the ribbon, in the Settings group, click Email Notification.
The Notification Configuration dialog box opens.
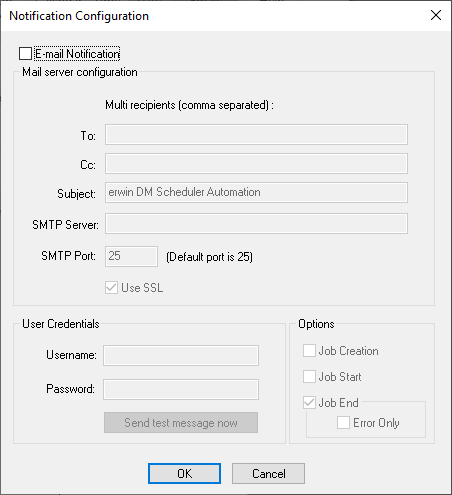
- Select the E-mail Notification check box.
The fields on the dialog box are enabled.
Note: Before you configure and send email notifications, ensure that the SendMail.ps1 file is available in the Config folder at C:\Program Files\erwin\Data Modeler r9\. - In the Mail Server Configuration section, work on the following:
- To and CC: Add an email address or a list of comma-separated email addresses.
- Subject: Enter a notification subject. By default, it is set to erwin DM Scheduler Automation.
- SMTP Server: Enter your SMTP server name in the mail.domain.com format. Notification emails are sent from this server.
- SMTP Port: Enter the port number of your SMTP server. The default port number is 25. If your organization uses an alternate port number for the mail server, enter the port number.
- Use SSL: Specify whether you want to connect to the server through a secured connection. This check box is enabled only if you have configured SSL on your web server.
- In the User Credentials section, work on the following:
- Username: Enter the username of the account that you want to use to send notifications. Ensure that this account has the rights to send emails in a batch.
- Password: Enter the password of your account.
- Send test message now: Click Send test message now to verify the settings that you made.
- In the Options section, select the event that triggers an email notification. You can send notifications on job creation, job start, job end, and job end due to an error.
- Click OK.
|
Copyright © 2020 erwin, Inc.
All rights reserved.
|
|