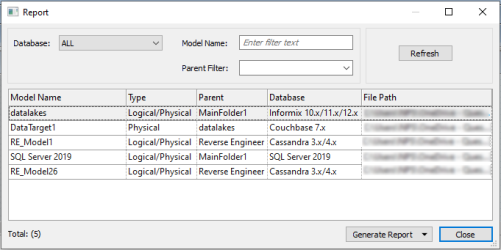
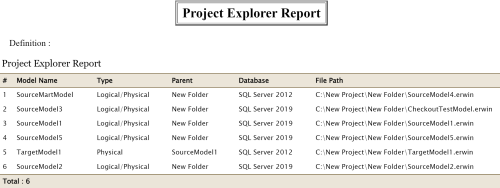
You can generate comprehensive, customizable project reports using the Report feature in Project Explorer. For example, to generate reports of all SQL Server models in your project, filter the required models from the list of available models and then generate a report.
To generate project reports, follow these steps:
- In the Project Explorer, click Report
 .
. - Filter the models in the list using the following options:
- Database: Use this filter to select the models based on a database. For example, to select all SQL Server models, select SQL Server from the drop-down. To select all models, select All.
- Model Name: Use this filter to select the models with a specific name. For example, to select all models with "RE" in their name, enter RE.
- Parent Filter: Use this filter to select the models based on a parent model or folder. For example, to select all target models of the parent model "MainFolder1," select MainFolder1 from the drop-down.
- Click Refresh.
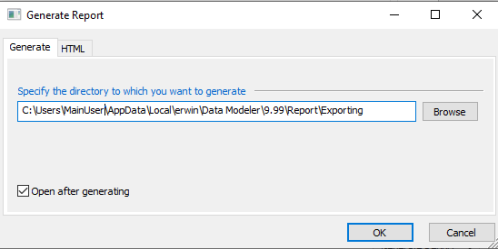
- Click Generate Report and select a report format. The available options are, TEXT/CSV, PDF, and HTML. For example, to generate the report as an HTML file, select HTML.
- The Generate Report window appears.
- Click Browse and specify a location for the report. You can further customize the report using the HTML tab.
- Optionally, select Open after generating to open the report after it is generated.
- Click OK to generate the report.
The report is generated and saved at the specified location.
The Report window appears.

The list displays filtered models to be included in the report.


|
Copyright © 2025 Quest Software, Inc. |