This topic explains how you can use polices, rules, and reports for model compliance.
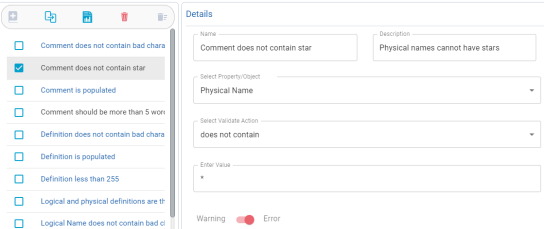
Let's create a rule, Physical name does not contain star. This rule is applicable to each physical names of the catalog.
To create a rule, follow these steps:
-
Go to Application Menu > EMC.
The Enterprise Modeling Compliance page appears.
-
On the Rules tab, click
 .
.The Details section appears.
-
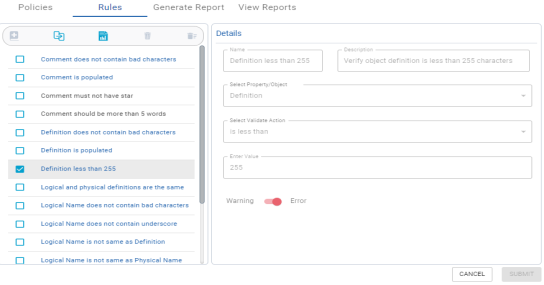
Enter appropriate values in the fields. Refer to the following table for field descriptions.
Field
Description
Name
Specifies the name of the rule
Description
Specifies the description and purpose of the rule
Select Property/Object
Specifies the property or object to which the rule is applicable
Select Validate Action Specifies the condition for validation. Based on the selected object type, available options may vary. Enter Value Specifies the value for validation
Warning/Error Specifies whether failing the rule populates results in a warning or error -
Click Submit.
The rule, Physical name does not contain star, is created and added to the list of rules. In the list of rules, user-defined rules are displayed with the black font.
Once the rule is created, you can apply this rule to the objects or properties while creating polices.
Now, let's create a policy, Physical name without star, having the above rule and apply it to tables, domains, and relationships of the model.
To create a policy, follow these steps:
-
On the Polices tab, click
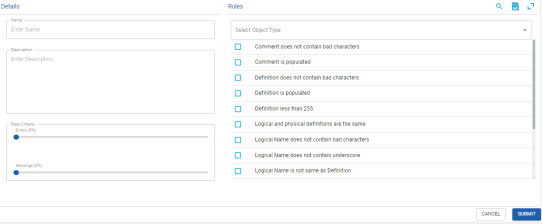
.The Details and Rules section appears.
-
Enter appropriate values in the fields. Refer to the following table for field descriptions.
Field
Description
Name
Specifies the name of the policy
Description
Specifies the description and purpose of the policy
Pass Criteria
Specifies the pass criteria in percentage for errors and warnings
Select Object Type Specifies the object types from the drop-down list. Based on the selected object types, available rules appear. Select the required rules to apply to the policy.
-
Click Submit.
The policy, Physical Name without Star, is created and added to the list of policies. In the list of polices, user-defined polices are displayed with the black font.
Now, you can apply this policy to the model to check the data quality. Also, you can use default rules and polices for model compliance.
To apply a policy, Physical Name without Star, to the Model- Avro, do the following:
-
On the Generate Reports tab, click
 .
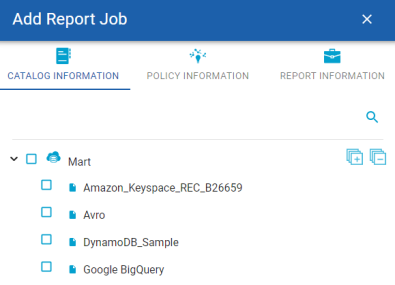
.The Add Report Job window opens.
-
On the Catalog Information tab, select the catalog- Avro, for which you want to add the job, and click Next.
The Policy Information tab opens.
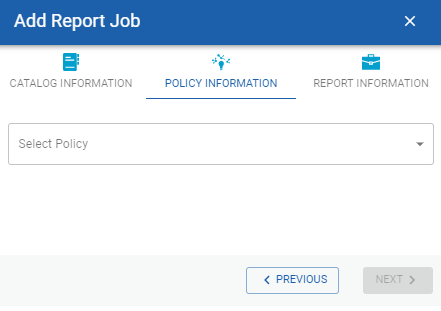
-
Select the policy- Physical Name without Star, which you want to apply for the job, and click Next.
The Report Information tab opens.
-
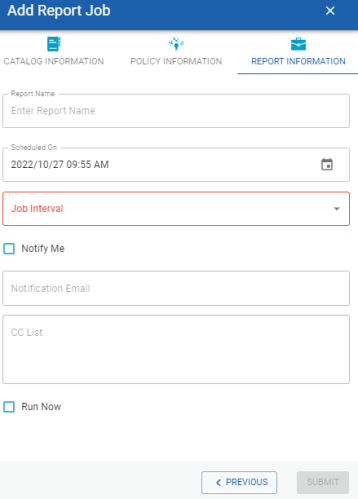
On the Report Information tab, enter the following details:
- Report Name
- Specifies a name for the report.
- Scheduled On
- Specifies the date and time at which the job must run.
- Job Interval
- Specifies the required frequency at which the job must run. You can set the job to run once or recur daily, weekly, monthly, or yearly.
- Notify Me
- Specifies whether a notification is sent to you when the job status changes.
This enables the Notification Email and CC List fields. - Notification Email
- Specifies the email address at which you want to receive the notification.
- CC List
- Specifies a list of email addresses, separated by a semi-colon, that must receive the job notification
- Run Now
- Specifies whether to run the job immediately.
- Click Submit.
The job is added to the calendar for execution with its Job State set to Scheduled.
Now, you can view the job report. It shows name, overall results along with the percentage of pass, error, and warnings.
-
Click View Reports.
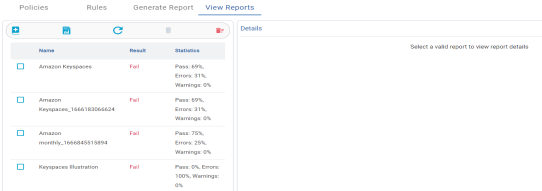
-
Select a report to view detailed information.
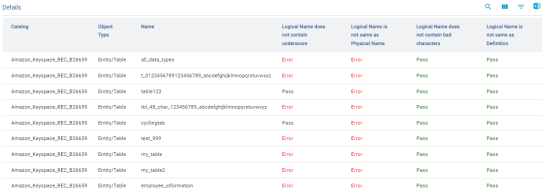
If the errors are more than 20% and warnings are more than 10%, you can go to the model and remove the stars (*) for model compliance and increase the data quality.
|
Copyright © 2025 Quest Software, Inc. |