SAML with PingIdentity
To configure AzureAD SAML for erwin Mart Portal authentication, follow these steps:
-
Log in to PingIdentity Console.

-
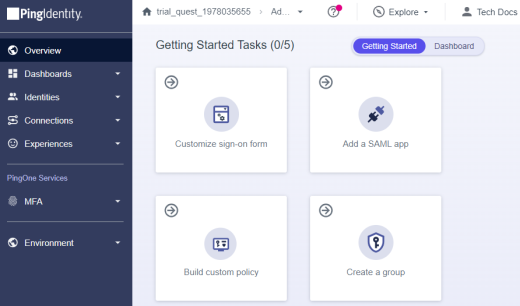
Click Administrators to set up your environment.
-
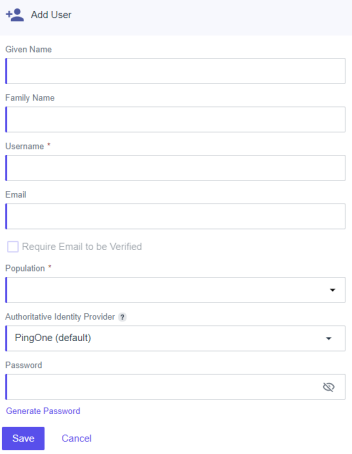
Click Identities > Users >
 .
.
-
Enter user's information and click Save.
-
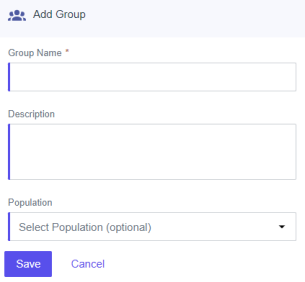
Click Identities > Groups >
 .
.
-
Enter Group Name and select Population.
-
Click Save.
-
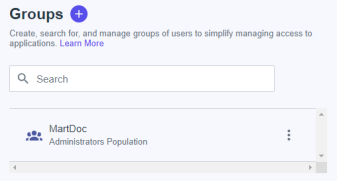
Click
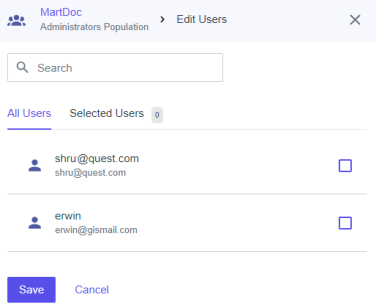
 . Then, click Add/Remove Users.
-
Select the users that you want to add to your group and click Save.
-
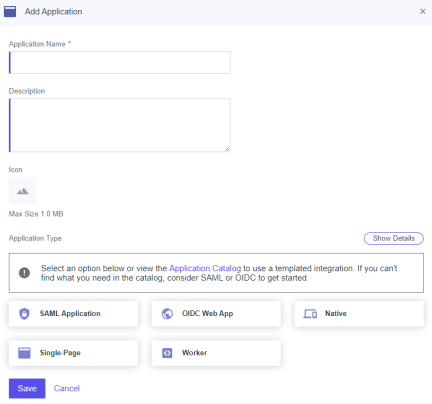
Click Connections > Applications >
 .
.
-
Enter an Application Name.
-
Click SAML Application and click Save.
-
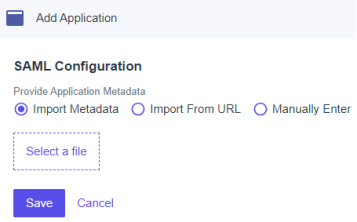
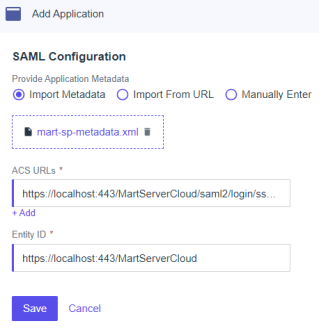
Click Import Metadata and select the file that you downloaded (erwin Mart Portal Configuration > Authentication tab > Download SP Metadata) during erwin Mart Portal configuration.
-
Click Save.

-
Click
 against your application name to enable user access to your application.
 -
In the list of applications, click your application name.
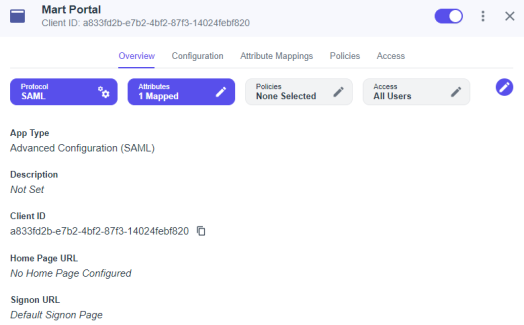
-
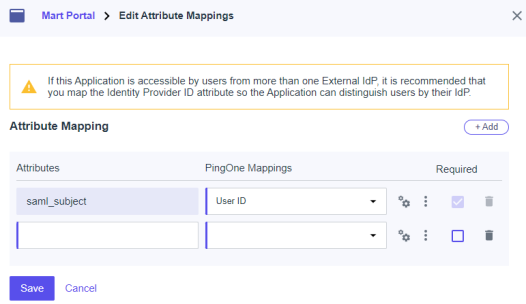
Click Attribute Mappings >
 > Add.
-
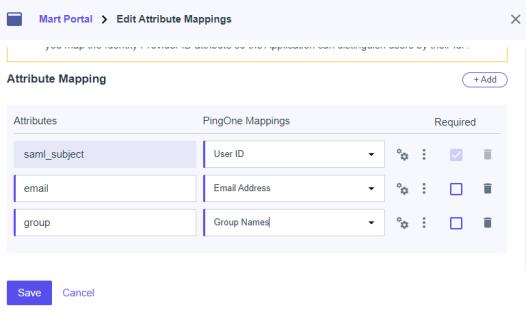
Add another attribute and map as shown in the following image.
-
Click Save.
These attributes will be used on the erwin Mart Portal Configuration screen. -
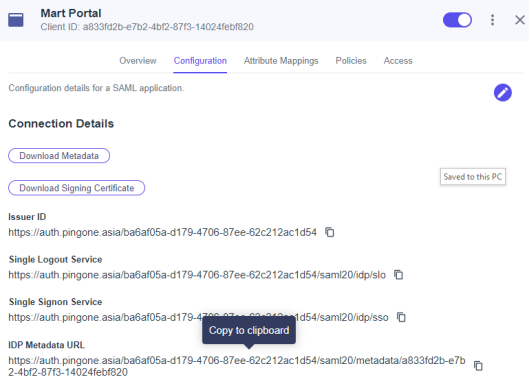
Click Configuration.
-
Copy and note the IDP Metadata URL.
-
During erwin Mart Portal configuration, on the Authentication tab, for SAML, follow these steps:
-
Select URL and paste the URL copied in step 22 in the MetaData XML field.
-
In the Group Attribute Name and User Email Attribute Name, enter appropriate attribute created in step 18.
-
Adding Groups in erwin Mart Portal
To add your PingIdentity SAML groups to erwin Mart Portal, follow these steps:
-
Create a CSV file with all your groups.
-
Log in to erwin Mart Portalas administrator.
-
Go to Application Menu > Users.
The Users page appears.
-
Click
 .
.
The Add User page appears.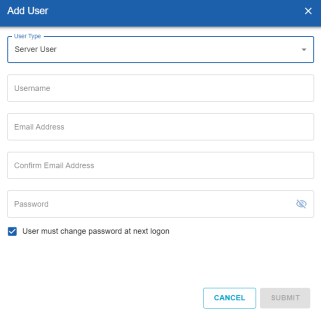
-
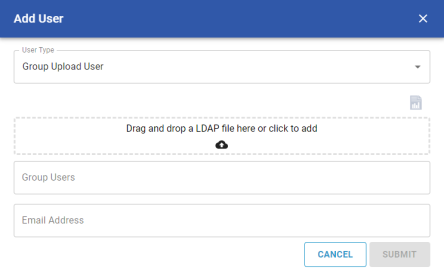
Under User Type, select Group Upload User.
-
Drag and drop the CSV file that you created in step 1.
-
Under Group Users, select the required groups.
-
Click Submit.
|
Copyright © 2025 Quest Software, Inc. |