You can create a data model from a database or a script using the Reverse Engineering process.
This topic walks you through the steps to reverse engineer a Google BigQuery model. For detailed description of reverse engineering options, refer to the Reverse Engineering Options topic.
To reverse engineer a model:
-
In erwin Data Modeler (DM), click Actions > Reverse Engineer.
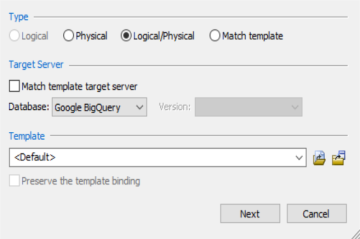
The New Model screen appears. -
Click Logical/Physical and set Database to Google BigQuery.
-
Click Next.
The Reverse Engineering Wizard appears.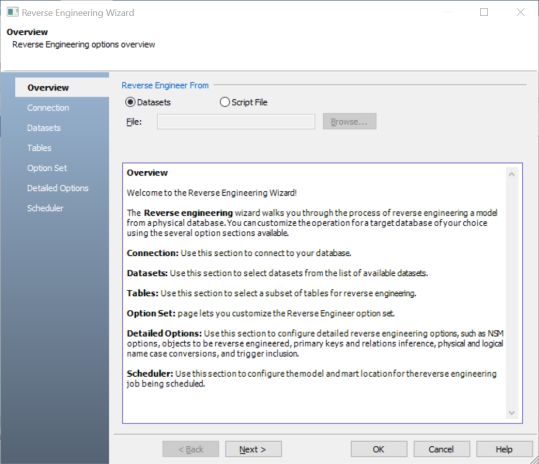
-
Click one of the following options:
-
Datasets: Use this option to reverse engineer a model from your dataset.
If you click Datasets, continue to step 5.
-
Script File: Use this option to reverse engineer a model from a script. Selecting this option enables the File field. Click Browse and select the necessary script file.
If you click Script File, see step 13 below.
-
- Click Next.
- Enter your User Name and Password.
-
Click Connect.
On successful connection, your connection information is displayed under Recent Connections.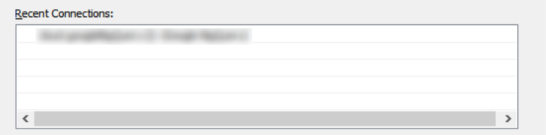
-
Click Next.
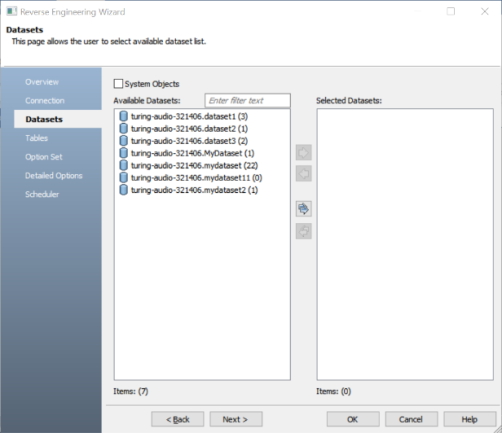
The Datasets tab appears. It displays a list of available datasets.
-
Under Available Datasets, select the datasets that you want to reverse engineer. Then, click
 .
.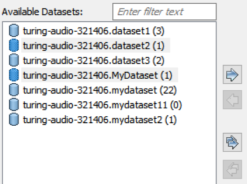
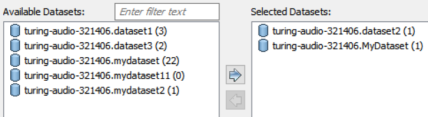
This moves the selected datasets under Selected Datasets.
-
Click Next.
The Tables tab appears. It displays a list of available tables in the datasets that you selected in step 8.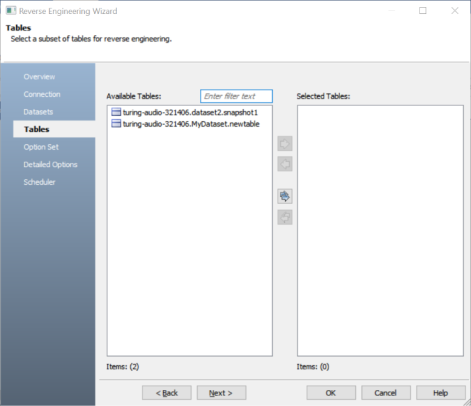
-
Click Next.
The Option Set tab appears. It displays the default option set. You can either use the default or a custom option set.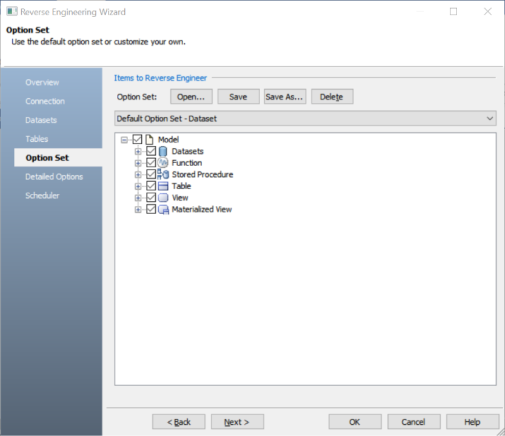
-
Click Next.
The Detail Options tab appears. Set up appropriate options based on your requirement.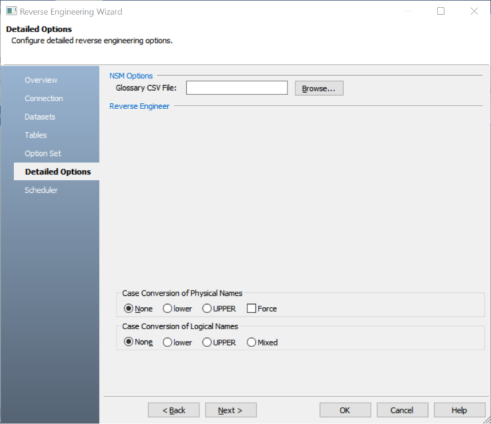
-
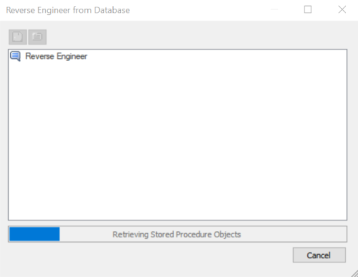
Click OK.
The reverse engineering process starts.
Once the process is complete, based on your selections, a schema is generated and a model is created.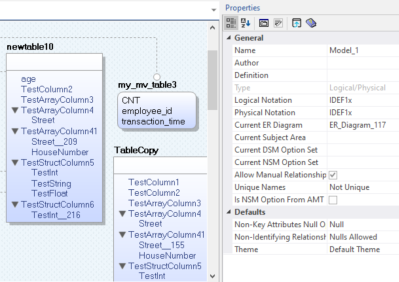
The Connection tab appears.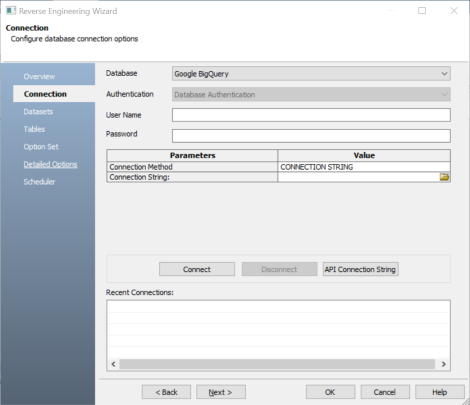
The following table explains the connection parameters.
|
Parameter |
Description |
Additional Information |
| Connection Method | Specifies the type of connection you want to use. Connection String connects to your cluster using a connection string. | |
| Connection String | Specifies the path to the secure connect JSON file in the following format: C:\<file name>.json |
This option is available when Connection Method is set to Connection String |
For information on creating JSON file for authentication, In Google BigQuery documentation, refer to the BigQuery APIs > BigQuery API Reference > BigQuery API Client Libraries > Setting up authentication section.
|
Copyright © 2023 Quest Software, Inc. |