A workflow has different stages and each stage is assigned to different roles. The users with the assigned roles receive the work queue notifications as the object moves across the stages. They can enter relevant comments while moving the object to the next stage.
Executing workflows involves:
- Receiving workflow queue notifications
- Examining and moving the environment to the next stage
To execute workflows for the Environments in the Metadata Manager, follow these steps:
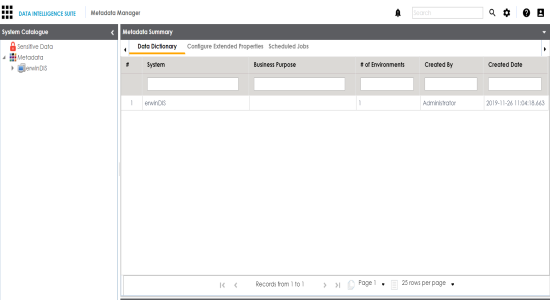
- Go to Application Menu > Data Catalog > Metadata Manager.
- Click
 .
. - Click My Workflow Queue.
- Search the object for which you wished to execute the workflow. You can search the object by entering any of the fields namely, Object Path, Object Name, Status Title, and Object Description and clicking
 .
. - Click the desired <Object Name> which appears as hyperlink.
- Click Send To - <Next_Stage> to move the object to the next stage of the workflow.
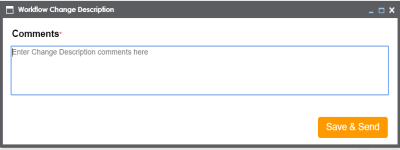
- Add relevant comments and click Save & Send.
The following page appears.
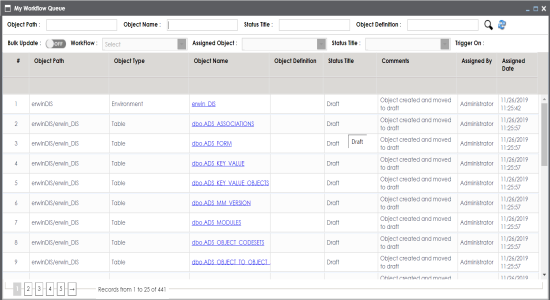
The My Workflow Queue page appears showing the workflow queues of the logged in user.
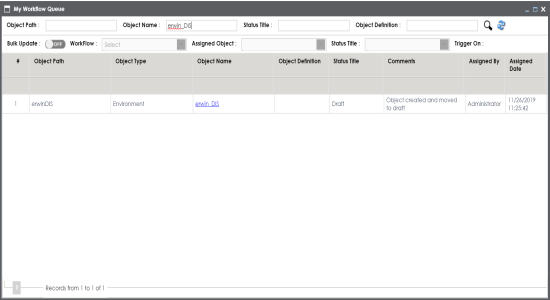
The search results are displayed.
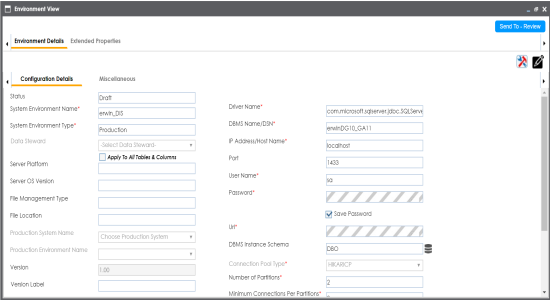
The Environment View page appears.
The Workflow Change Description page appears.
The workflow status is updated to the <Title_Status> of next stage and the users with the assigned roles receive the work queue notification.
Note: Each stage in the workflow is assigned to different roles. For example, if the Draft stage in the workflow was assigned to Mapping Admin role then, the users with the Mapping Admin role receive the work queue notification.
As the object moves through different stages, you can view the workflow log to see its workflow status. For more information on viewing the workflow log of environments, refer to the Viewing Workflow Logs topic.
An environment can be moved to different stages and finally, it can be published.
|
Copyright © 2020 erwin, Inc.
All rights reserved.
|
|