Scanning Metadata
After creating system and environment, the next logical step is to scan source/target metadata. You can also import metadata from MS Excel file, JSON, CSV (Flat File), XMI, MS Access File, and XSD.
To scan source or target metadata, follow these steps:
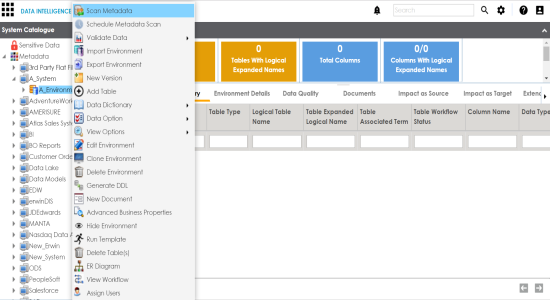
- Go to Application Menu > Data Catalog > Metadata Manager.
- Under the System Catalogue pane, expand the system created by you.
- Right-click the Environment node created by you.
- Click Scan Metadata.
- Select appropriate Import Metadata Options by selecting
 or
or  .
. - Select the appropriate Database Schema check box.
- Click
 to move to next step.
 - Select the objects to be imported by selecting the appropriate check box.
- Click
 .
.
Metadata Scan-Step 1 wizard appears.
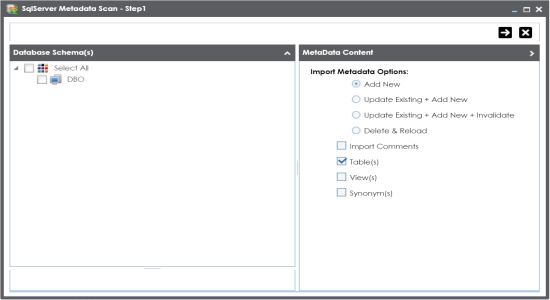
Note: If you are scanning the metadata for the first time, then select Add New.
|
Import Metadata Options |
Description |
|---|---|
|
Add New |
This option adds new objects to the existing object list. Existing metadata is not refreshed. |
|
Update Existing + Add New |
This option adds new objects to the existing list and at the same time the existing metadata is also refreshed. |
|
Update Existing + Add New + Invalidate |
This option adds new objects to the existing list, refreshes existing and invalidate table/column during the scanning process. |
|
Delete & Reload |
This option deletes all existing metadata and scans only the new objects that have been selected. |
|
Import Comments |
Select the check box to import comments. |
|
Table(s) |
Select the check box to import Tables. |
|
View(s) |
Select the check box to import Views. |
|
Synonym(s) |
Select the check box to import Synonyms. |
Metadata Scan Step-2 Wizard appears. It pulls up the objects selected in Metadata Scan Step-1 like Tables, Views and Synonyms.
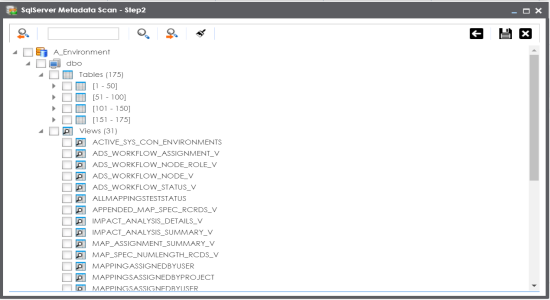
The metadata is scanned successfully and saved under the environment node.
You can also import metadata from:
|
Copyright © 2020 erwin, Inc.
All rights reserved.
|
|