Publishing Mappings
Before publishing mappings, please make sure that the source environment and the target environment have their corresponding production environments.
You can publish a map on an effective date and enter publishing notes.
To publish mappings, follow these steps:
- Go to Application Menu > Data Catalog >
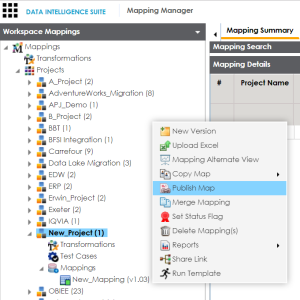
- Under the Workspace Mappings pane, right-click the required map.
- Click Publish Map.
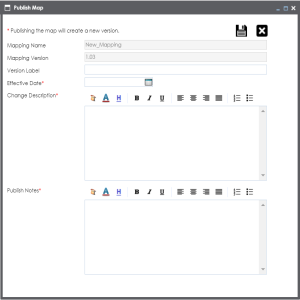
- Enter appropriate values in the fields. Fields marked with a red asterisk are mandatory. Refer to the following table for field descriptions.
- Click
 .
. - Under the Published Mappings pane, click the published map to view Mapping Details and Mapping Specification.
The Publish Map page appears.
|
Field Name |
Description |
|---|---|
|
Mapping Name |
Specifies the mapping specification name. For example, EDW_PROD_IDS_Benefits_Detail. It is autopopulated and you cannot edit this field. |
|
Mapping Version |
Specifies the version of the mapping specification. For example, 1.00. It is autopopulated. For more information on configuring version display of maps, refer to the Configuring Version Display topic. |
|
Version Label |
Specifies the version label of the mapping specification. For example, EDW_PROD_IDS_Benefits_Detail (Alpha). For more information on configuring version display of maps, refer to the Configuring Version Display topic. |
|
Effective Date |
Use For example, 04/02/2020. |
|
Change Description |
Specifies the description for changes made in the mapping specification. For example: Business rule was modified from ABORT to ASCII for the source column ID. |
|
Publish Notes |
Specifies the publish notes about the mapping specification. For example: The mapping specification is approved for publishing on 1 Feb 2020. |
The mapping is published on the effective date and saved in Published Mappings. The source and the target environments in the published mapping are updated to their corresponding production environment. All previously published versions of the same mapping are stored in the History folder. A published mapping cannot be edited.
A new version of the mapping is automatically created in Workspace Mappings which can be edited.
The business view of the mapping appears which can be used to run impact analysis, lineage analysis, and data quality etc.
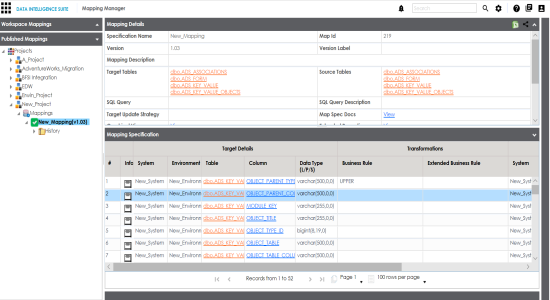
Note: In Mapping Specification, the target and source environment are updated to their corresponding production environment.
You can edit a published map before the effective date of publishing. It enables you to update the effective date of publishing and publishing notes.
To edit published maps, follow these steps:
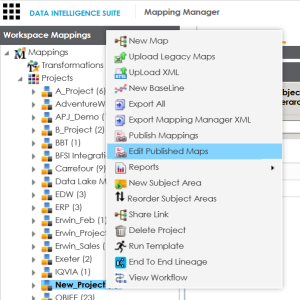
- Under the Workspace Mappings pane, right-click a project containing the published map.
- Click Edit Published Maps.
- Under the Publish Tree pane, select the published map.
- Update the Publish Notes and Effective Date.
- Click .
The Edit Publish Mappings page appears. You can filter the mappings using Filter by Effective Date option.

The published map is updated.
|
Copyright © 2020 erwin, Inc.
All rights reserved.
|
|