Branching Mappings
Branching a mapping means copying the mapping and pasting it in an another subject area or a project. The copied mapping acts as a child map and the original map is called the parent map.
To branch mappings, follow these steps:
- Go to Application Menu > Data Catalog >
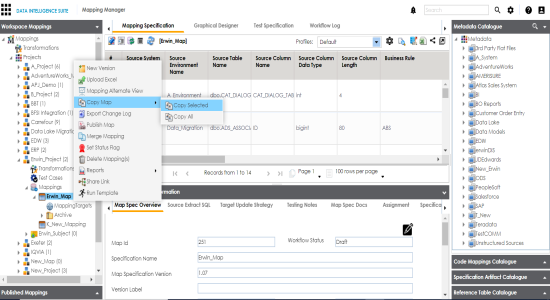
- Under the Workspace Mappings pane, right-click the required map and hover over the Copy Map.
- Click Copy Selected.
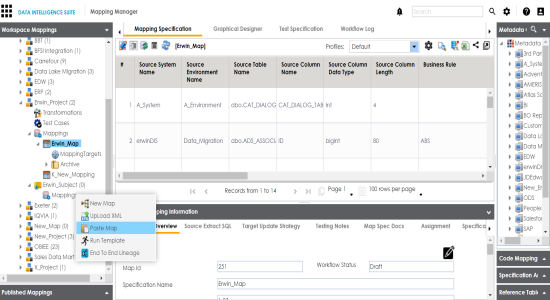
- Right-click the Mappings node under required project/subject area.
- Click Paste.
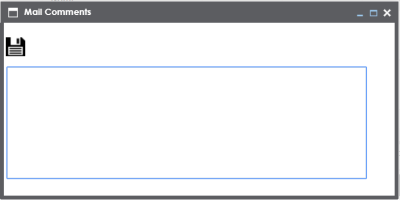
- Enter the mail comments and click
 .
.
The mail comments page appears.
The map is copied successfully into the subject area or the project and you can rename the map if required. You can now modify the child map as per your requirements. For an example, you can change the reference table, business rule, or add or remove columns etc.
If you enable notifications in the Mapping Manager Settings, the project users receive email notification when the map is copied in the project. For more information on configuring notifications, refer to the Configuring Notifications topic.
For more information on renaming mappings, refer to the Updating Map Spec Overview topic.
|
Copyright © 2020 erwin, Inc.
All rights reserved.
|
|