You can add multiple validation steps to a map level test case. You can also specify actual and expected results for each validation step.
To add validation steps to map level test cases, follow these steps:
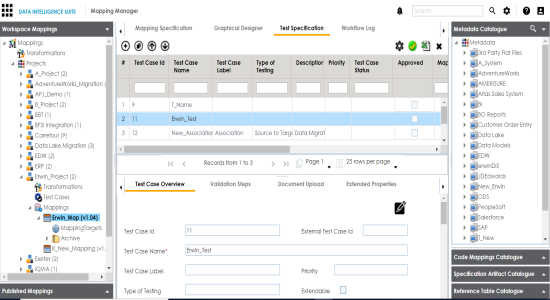
- Under the Workspace Mappings pane, click the required map and click the Test Specification tab.
- Double-click the required map level test case.
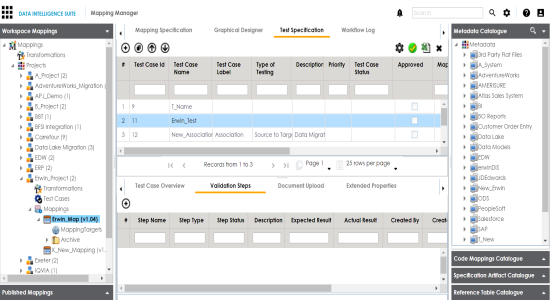
- Click the Validation Steps tab.
- Click
 .
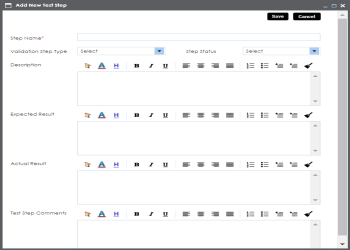
. - Enter appropriate values in the fields. Fields marked with a red asterisk are mandatory. Refer to the following table for field descriptions.
- Click Save.
The Test Case Overview tab appears.
The Validations Step tab appears.
The Add New Step page appears.
|
Field Name |
Description |
|---|---|
|
Step Name |
Specifies the unique name of the step. For example, Validating Number of Columns. |
|
Validation Step Type |
Specifies the type of the validation step. For example, Data Check. |
|
Step Status |
Specifies the status of the step. For example, Passed. |
|
Description |
Specifies the description about the validation step. For example: This step validates the number of columns in the source metadata. |
|
Expected Result |
Specifies the expected result in detail. For example: The source table, dbo.ADS_ASSOCIATIONS should have 50 columns. |
|
Actual Result |
Specifies the actual test result after the execution of the test. For example: The source table contains 50 columns. |
|
Expected Result |
Enter the expected result in detail, including the error-message that is displayed on screen. |
|
Test Step Comments |
Specifies the comments about the step. For example: The source metadata was scanned from a Sql Server database. |
The validation step is added to the test case.
|
Copyright © 2020 erwin, Inc.
All rights reserved.
|
|