This topic walks you through the configuration of the erwinAI.
Prerequisites
Before you begin, ensure the following prerequisites are met:
-
Purchase of the erwinAI add-on and receipt of a welcome email with the licensing portal URL and license number
If you haven't received the email, contact your support team.
-
Access to the Quest Licensing portal at https://licensing.ism.quest.com
-
Permissions to update the DI properties file
-
Internet access, including access to the following #genai server endpoint URLs:
-
genai.api.urlfor 15.1: https://erwindi-chat.ai.ism.quest.com/api -
genai.api.urlfor 15.2: https://api.ai.ism.quest.com/openai/deployments/gpt-4.1/chat/completions?api-version=2024-10-21 -
genai.token.urlfor both releases: https://id.quest.com/auth/realms/ism/protocol/openid-connect/token
-
Steps to Configure AI in erwin DI
The following steps outline the process for configuring AI:
Following steps display the configuration for release 15.1. To configure erwinAI for release 15.2, you can follow the same steps.
Creating Organizations
You can create organizations to simplify license management for teams with multiple licenses and a number of users.
To create an organization in the Quest Licensing portal, follow these steps:
-
Log in to the Quest Licensing portal using the same email address that received the welcome email.
The portal home page opens.
-
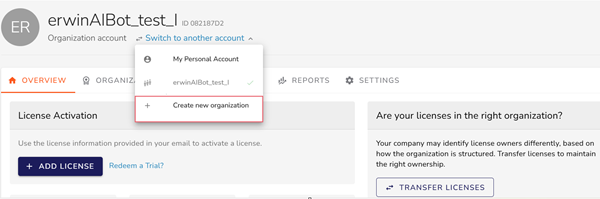
Click Switch to another account, and then select Create new organization.
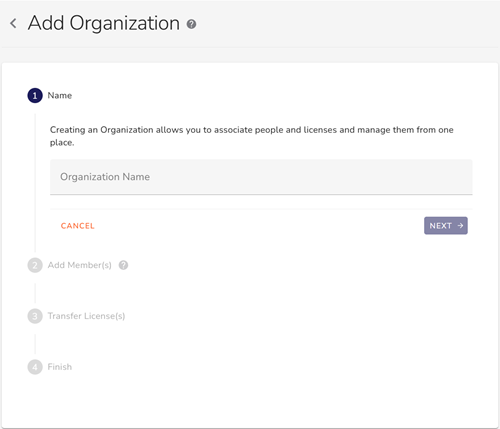
The Add Organization page opens.
-
Enter the organization name, and click Next.
-
Add email addresses of the members you want to add, and click Next.
-
Select an existing license to transfer to the organization, or skip this step.
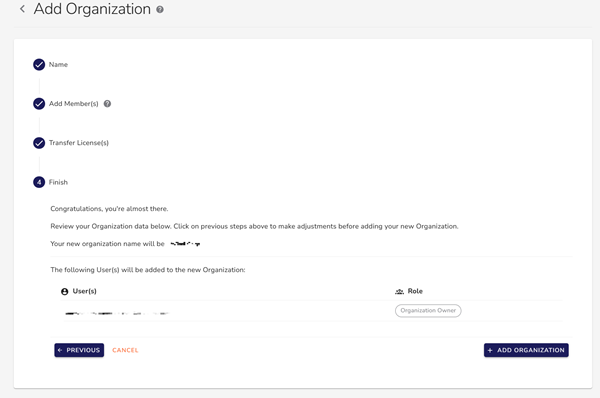
The Finish section appears.
-
Review the details, and then click Add Organization.
Your organization is added to the Overview tab.
Adding Licenses
To add your license to the Quest Licensing portal, follow these steps:
-
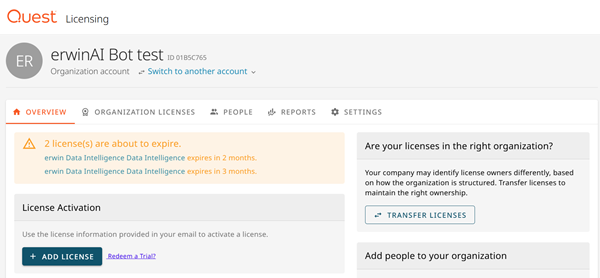
Go to the Quest Licensing portal. From the Overview page, locate the organization to which you want to add a license.
The License Activation section appears.
-
In the License Activation section, click Add License.
The Add License to erwinAI Bot page opens.
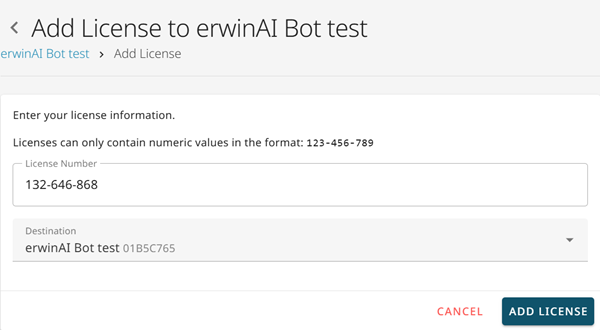
-
Enter the license number in the License Number field, and then click Add License. For example, 132-646-868.
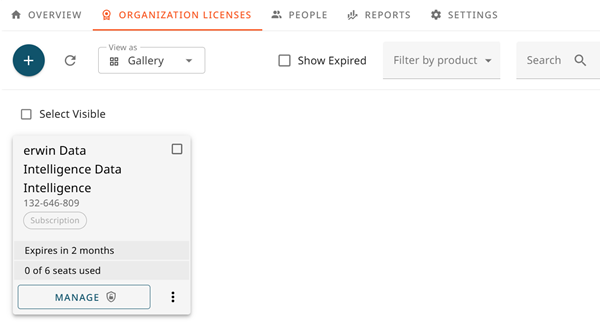
You can view your subscription on the Organization Licenses tab.
Assigning Users
After you add the license, you can assign users to the erwinAI.
To assign users, follow these steps:
-
Go to the Organization Licenses tab.
-
On the Subscription card, click Manage.
The license page opens.
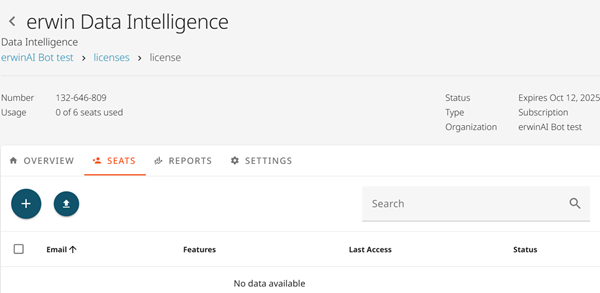
-
On the Seats tab, click
 to assign users.
The Assign Users dialog box appears.
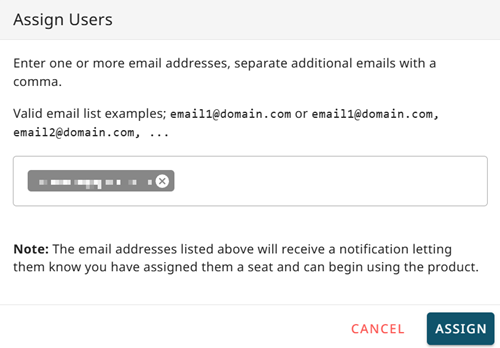
Seats are not related to the number of DI users. Assigning a user seat to the admin who receives the welcome email is sufficient for setup.
-
Enter the same email address that you used to log in to the Quest Licensing portal, and then click Assign.
Enabling the Feature
Once the users are assigned, you need to enable the AI feature.
To enable AI feature, follow these steps:
-
On the Settings tab, click Features.
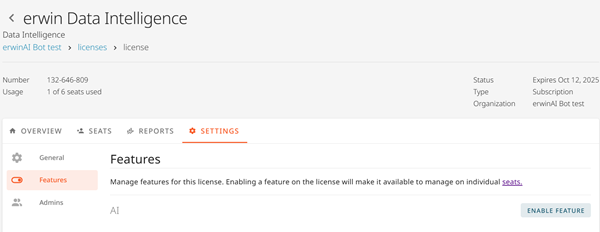
-
In the Features section, next to AI, click Enable Feature.
The Enable AI dialog box appears.
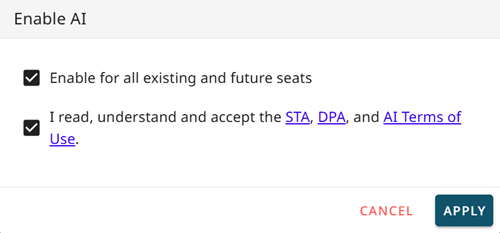
-
Review the terms of usage and select both the conditions, and then click Apply.
Creating Access Keys
You can now create the access key required to initiate erwinAI.
To create access keys, follow these steps:
-
On the Profile menu, select My Access Keys or go to https://licensing.ism.quest.com/user/access-keys.
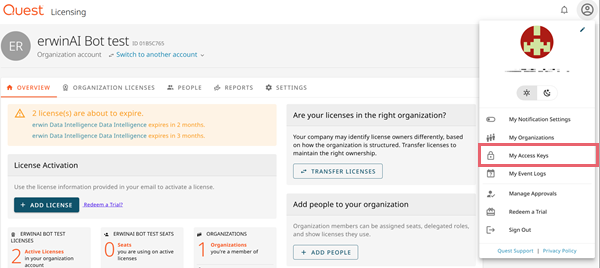
The My Access Keys page opens.
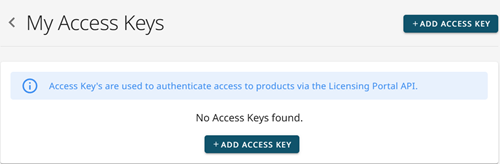
-
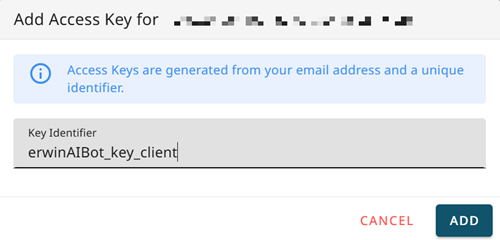
Click Add Access Key.
-
Enter a key identifier in the corresponding field, and then click Add. For example, erwinAIBot_key_client. Access key is generated from your email address and this unique identifier.
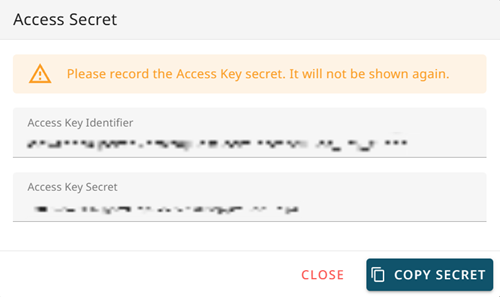
In the Access Secret dialog box, Access Key Identifier and Access Key Secret are displayed.
-
Click Copy Secret to copy. Save the Access Key Secret. It will not be displayed again.
Updating Properties File in erwin DI
If you are running erwin DI locally, you must add the Key Identifier and Key Secret to the Application.properties file to enable the erwinAI:
-
In your local machine, go to C:\Program Files\Apache Software Foundation\Tomcat10.1_Tomcat10.1.24\webapps\erwinDISuite_AIBot\WEB-INF\configuration\properties.
-
Locate and open the Application.properties file.
-
Add the License Number, Access Key Identifier, and Access Key Secret to the corresponding properties. Set encrypted=false the first time you configure this.
Ensure that the following URLs are set to the corresponding properties:genai.api.urlfor 15.1: https://erwindi-chat.ai.ism.quest.com/api-
genai.api.urlfor 15.2: https://api.ai.ism.quest.com/openai/deployments/gpt-4.1/chat/completions?api-version=2024-10-21 -
genai.token.urlfor both releases: https://id.quest.com/auth/realms/ism/protocol/openid-connect/token
The following image shows the properties file for release 15.1, similarly, you can add properties for 15.2.
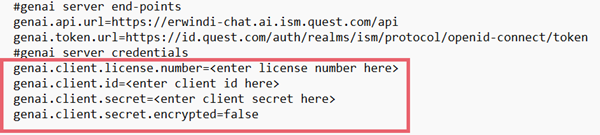
The license number must include dashes. For example, 132-646-868 not 132646868.
-
Restart Tomcat.
After Tomcat restarts, the encrypted property is updated to true to ensure secure data handling.
The erwinAI is enabled for you.
Verifying in erwin DI
To verify that the erwinAI is enabled for you, follow these steps:
-
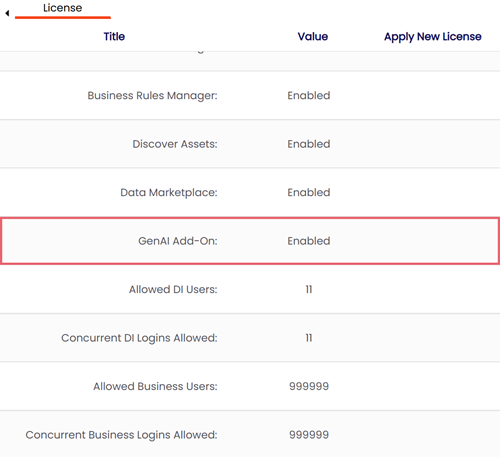
Go to Application Menu> Settings> License Key.
The License tab appears.
-
Ensure that the GenAI Add-On is set to Enabled.
Configuring Roles for the erwinAI Bot 15.1
To configure roles for the erwinAI Bot (version 15.1), follow these steps:
-
Go to Application Menu > Data Catalog > Resource Manager.
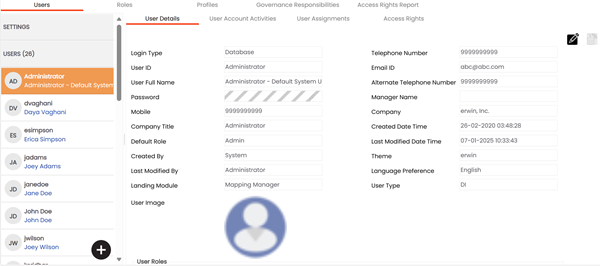
The Resource Manager page appears. By default, the Users tab opens.
-
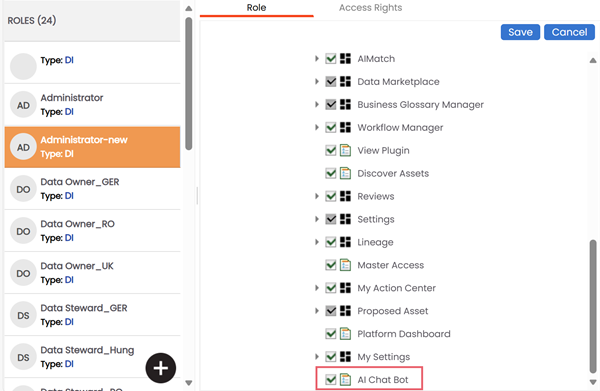
On the Roles tab, select the role to grant access to the erwinAI Bot.

-
In the Role section, click Edit.
-
In the Permission Tree, select the AI Chat Bot check box, and then click Save.
The erwinAI Bot is configured for the selected role.
The AI Chat Bot option is available only for DI users.
Configuring Roles for erwinAI Features 15.2
Following erwinAI features are available in version 15.2:
-
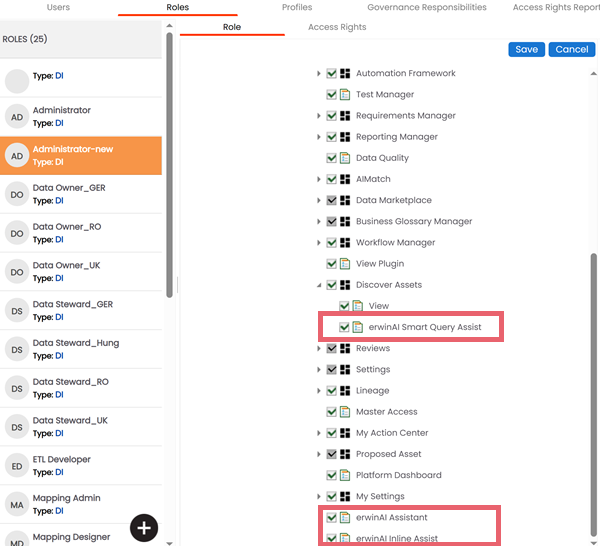
erwinAI Smart Query Assist
-
erwinAI Assistant
-
erwinAI Inline Assist
The erwinAI Assistant and erwinAI Inline Assist features are available only for DI users.
To configure roles for erwinAI features, follow these steps:
-
Go to Application Menu > Data Catalog > Resource Manager.
The Resource Manager page appears. By default, the Users tab opens.
-
On the Roles tab, select the role to grant access to erwinAI features.
-
In the Role section, click Edit.
-
In the Permission Tree, select the check boxes for erwinAI features you want to enable, and then click Save.
erwinAI features are configured for the selected role.