Generating an authentication token enables sync between the erwin Data Intelligence (erwin DI) application on the cloud and on-premises. You can create authentication tokens to connect to a cloud instance and manage them under the User Tokens tab on the Resource Manager's settings page.
Generating authentication tokens are applicable only when you want to access erwin DI Cloud within a firewall zone to connect to data sources that cannot be accessed from the erwin DI Cloud. You can generate the authentication token using the cloud instance.
To generate an authentication token, follow these steps:
- Go to Application Menu > Data Catalog > Resource Manager.
- On the Users tab, click Settings, and then click User Tokens.
The User Tokens tab appears.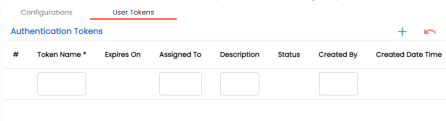
- Click
 to generate a new authentication token.
The Generate Authentication Token page appears.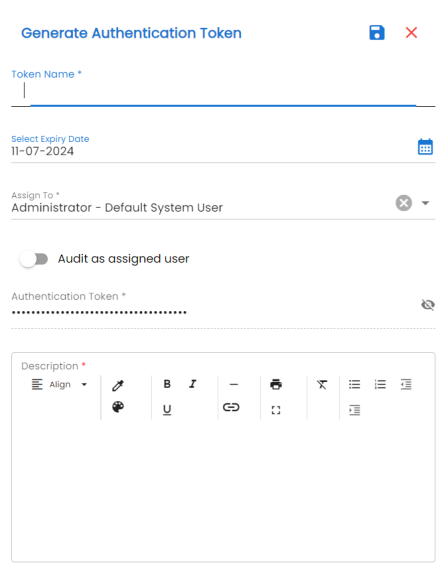
- Enter appropriate values in the fields. Refer to the following table for fields and their description.
The fields marked with an asterisk (*) are mandatory.Field Name
Description
Token Name
Specifies the name of the authentication token.
Select Expiry Date
Specifies the expiry date of the token.
Assign To
Specifies a user to authenticate the token.
Audit as assigned user
Enable this option to audit the token as an assigned user.
Authentication Token Displays the auto-generated authentication token.
Click to view the token, and then click
  to copy the token. You can use to connect to the cloud and the on-premises instance.
Description Specifies a description for the token. - Click
 .
.
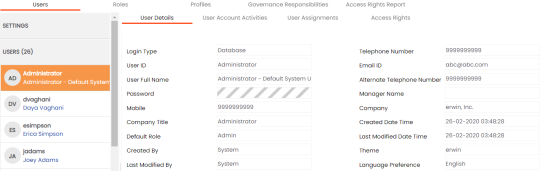
By default, the Users tab opens.
The generated token is added to the Authentication Tokens list.
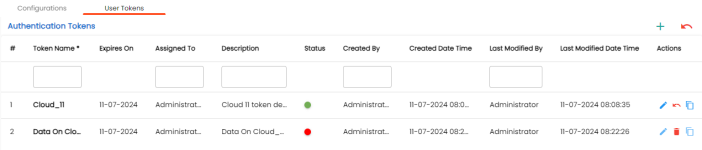
Under the Status column, a green indicator identifies active tokens, red indicates inactive, and gray indicates expired tokens.
Once an authentication token is created, you can manage it from the User Tokens tab under the Actions column.
You can manage the authentication token using the following options:
- Edit (
 ):
):
Use this option to edit the token's properties. - Revoke (
 ):
):
Use this option to revoke or mark a token inactive. Under the Status column, a red indicator identifies inactive tokens. - Delete (
 ):
):
Use this option to delete a revoked or inactive token. This option is available only when a token becomes inactive or revoked. - Copy
(
 ):
):
Use this option to copy the authentication token to the clipboard.