You can update the tag tables and columns in an environment individually or in bulk. You can also propagate these tags to the system and environment containing these tables and columns.
To tag tables or columns, follow these steps:
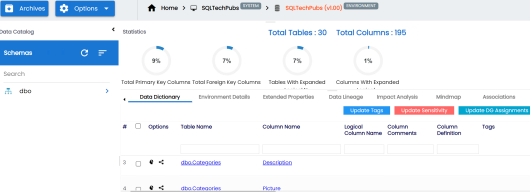
- On the Explore tab, click an environment tile.
- On the Data Dictionary tab, select one or more assets.
- Hover over Update Tags.

- Click the required option.
- Selected Tables(s): Use this option to tag all columns in the selected tables.
- Selected Columns(s): Use this option to tag all tables in the selected columns.
- Enter or select appropriate values in the fields. Refer to the following table for field descriptions.
- Table(s): Switch Table(s) to Yes to tag the tables containing the columns. This option is available only when you click Selected Column(s) in step 4.
- Column(s): Switch Column(s) to Yes to tag all columns in the selected tables. This option is available only when you click Selected Table(s) in step 4.
- Environment: Switch Environment to Yes to tag the environment containing the tables or columns.
- System: Switch System to Yes to tag the system containing the tables or columns.
- Use the following options:
- Append
- Use this option to add new tags to the existing metadata.
- Replace
- Use this option to replace existing tags.
- Click Update.
The environment details appear.
You can update the tag tables and columns in an environment individually or in bulk. You can also propagate these tags to the system and environment containing these tables and columns.
The Assign Tags page appears.
|
Field Name |
Description |
|---|---|
|
Select Tags |
Depending on the asset and tag scope, displays available tags. You can assign multiple tags to the selected assets. Click Select Tags and select a tag from the suggestions that appear. |
|
Propagate tags to |
Specifies whether tag is applicable to: |
The tables and columns are tagged.