You can assign one or multiple tags to classify and organize maps into categories.
To tag maps, follow these steps:
- In the Workspace Mappings pane, click a map.
- In the Additional Mapping Information pane, on the Map Spec Overview tab, click
 .
. - Click Tags and select a tag from the suggestions that appear.
You can create a tag by typing a tag name in the Tags box and then pressing Enter.
For example, in the following image, a tag, Marketing, is created and assigned to a map.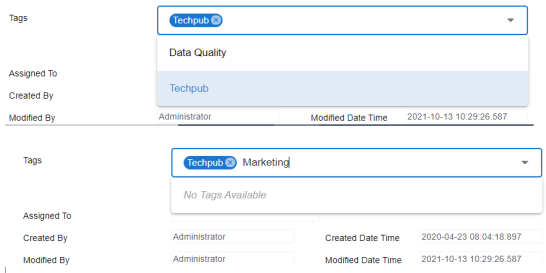
- Click
 .
.
By default, the Mapping Specification tab opens.

The following page appears.
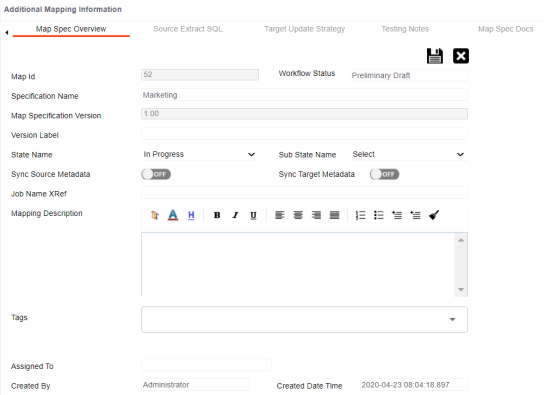
The tag is assigned to a map.
|
Copyright © 2024 Quest Software Inc. |