After creating a reference table, you can add columns to the reference table.
To add columns to reference tables, follow these steps:
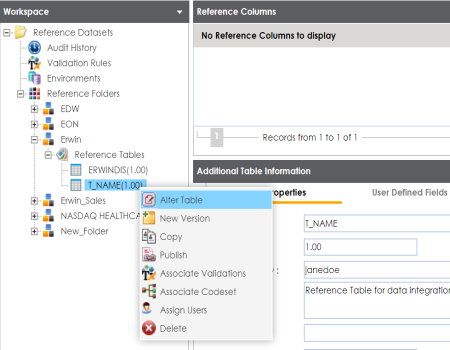
- In the Workspace pane, right-click a reference table.
- Click Alter Table.
- Click
 .
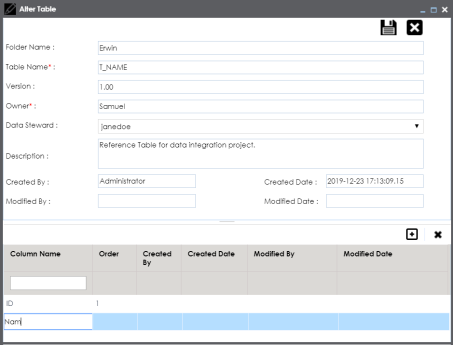
. - Double-click the cell under the Column Name and enter the column name.
- Click
 .
.
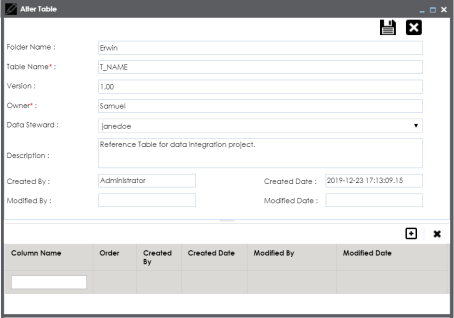
The Alter Table page appears.
A new row is added to the grid.
You can add multiple columns.
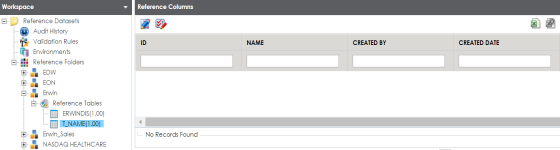
The columns are added to the reference table.
Once columns are added to a reference table, you can import column values:
|
Copyright © 2023 Quest Software Inc. |