To create better structured specifications and to enrich them further, you can create multiple child artifacts under an artifact.
To create child artifacts, follow these steps:
- In the Requirements Workspace pane, right-click an artifact.
- Click New <Artifact_Name>.
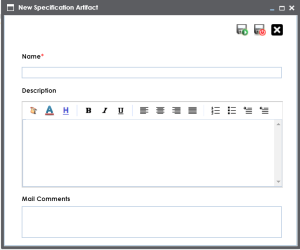
- Enter appropriate values in the fields. Fields marked with a red asterisk are mandatory. Refer to the following table for field descriptions.
- Click
 .
.

The New Specification Artifact page appears.
|
Field Name |
Description |
|---|---|
|
Name |
Specifies the name of the child artifact. For example, Enrollments from Healthcare. |
|
Description |
Specifies the description of the child artifact. For example: The child artifact captures functional requirements of the healthcare department. This field can be disabled while adding the artifact to the template. |
|
Mail Comments |
Specifies the mail comments that are sent to the project users. For example: This child artifact is under the Enrollments artifact. For more information on sending mail comments to project users, refer to the Configuring Email Settings topic. |
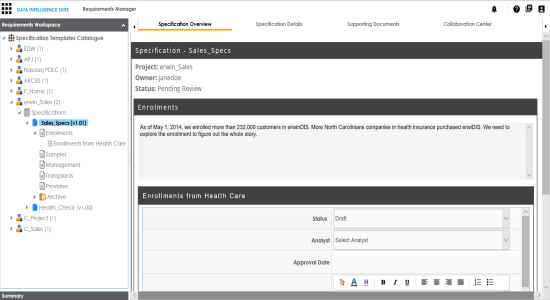
A child artifact is saved and added to the artifact tree. You can view the child artifact on the Specification Overview tab.
|
Copyright © 2022 Quest Software Inc. |