Roles enable you to assign access-level permissions to users. You can create a role and assign permissions based on the abilities that a role should have. Abilities map to application modules by default.
To create roles, follow these steps:
- In the top pane, click
 .
. - Click Administration.
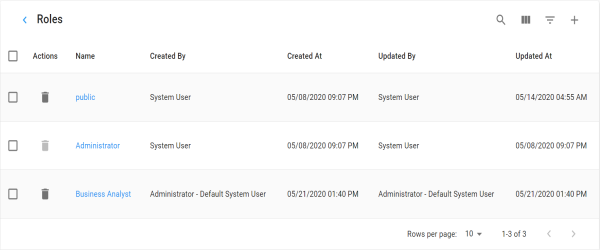
- Under the Roles section, click Manage roles.
- Click
 .
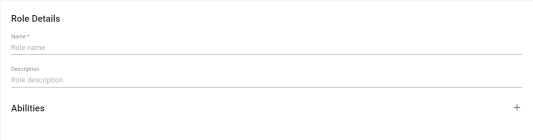
. - Enter or select appropriate values in the fields. Fields marked with a asterisk (
 ) are mandatory. Refer to the following table for field descriptions:
 - Name: Specifies the name of the role.
- Description: Specifies the description of the role.
- Click Save.
The following options appear.
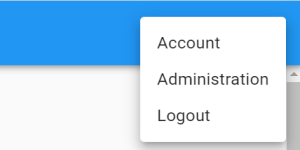
The Administration page appears.

The Roles page appears.
The Role Details page appears.
|
Field Name |
Description |
|---|---|
|
Role Details |
For example, Business Analyst. For example: This role manages business terms, business policies, business rules, and custom assets. |
|
Abilities |
Specifies the modules assigned to the role. For example, Business Rules. Click By default, each permission has a non-editable read right. Also, some permissions may have additional rights. You can select or discard them based on the requirement. For example, Data Catalog has additional Create and Update rights. You can choose to use both, one, or none. |
The role is saved and added to the Roles list.
Once roles are created, you can manage roles. Managing roles involves:
- Updating roles
- Deleting roles
|
|
|
Copyright © 2021 erwin, Inc. All rights reserved. Copyright © 2021 Quest Software Inc. All rights reserved. All trademarks, trade names, service marks, and logos referenced herein belong to their respective companies. |